Pippit visual workflow

Create visual concepts with the pippit ai image generator

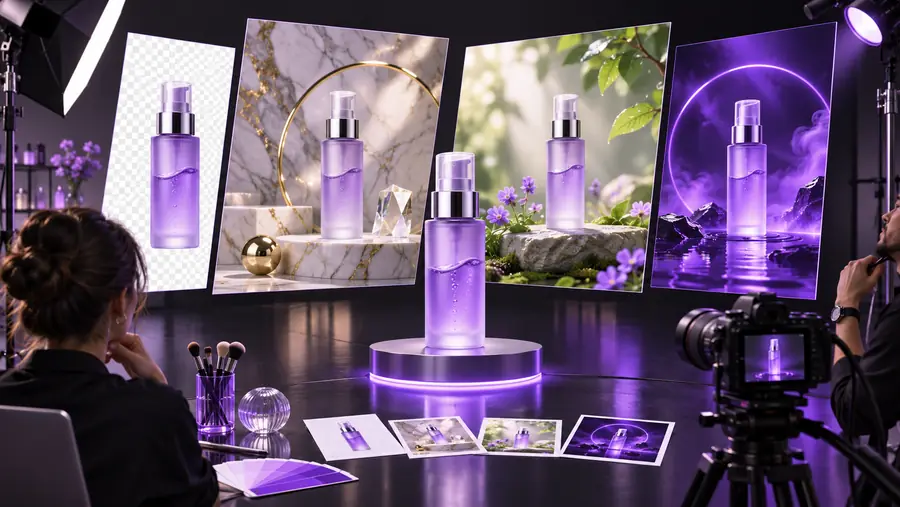
The pippit ai image generator turns a short brief into a visual starting point for product scenes, campaign directions, and social content. Use the console to pass your idea to Pippit, then refine the result with a more specific brief.

Prompt handoff included
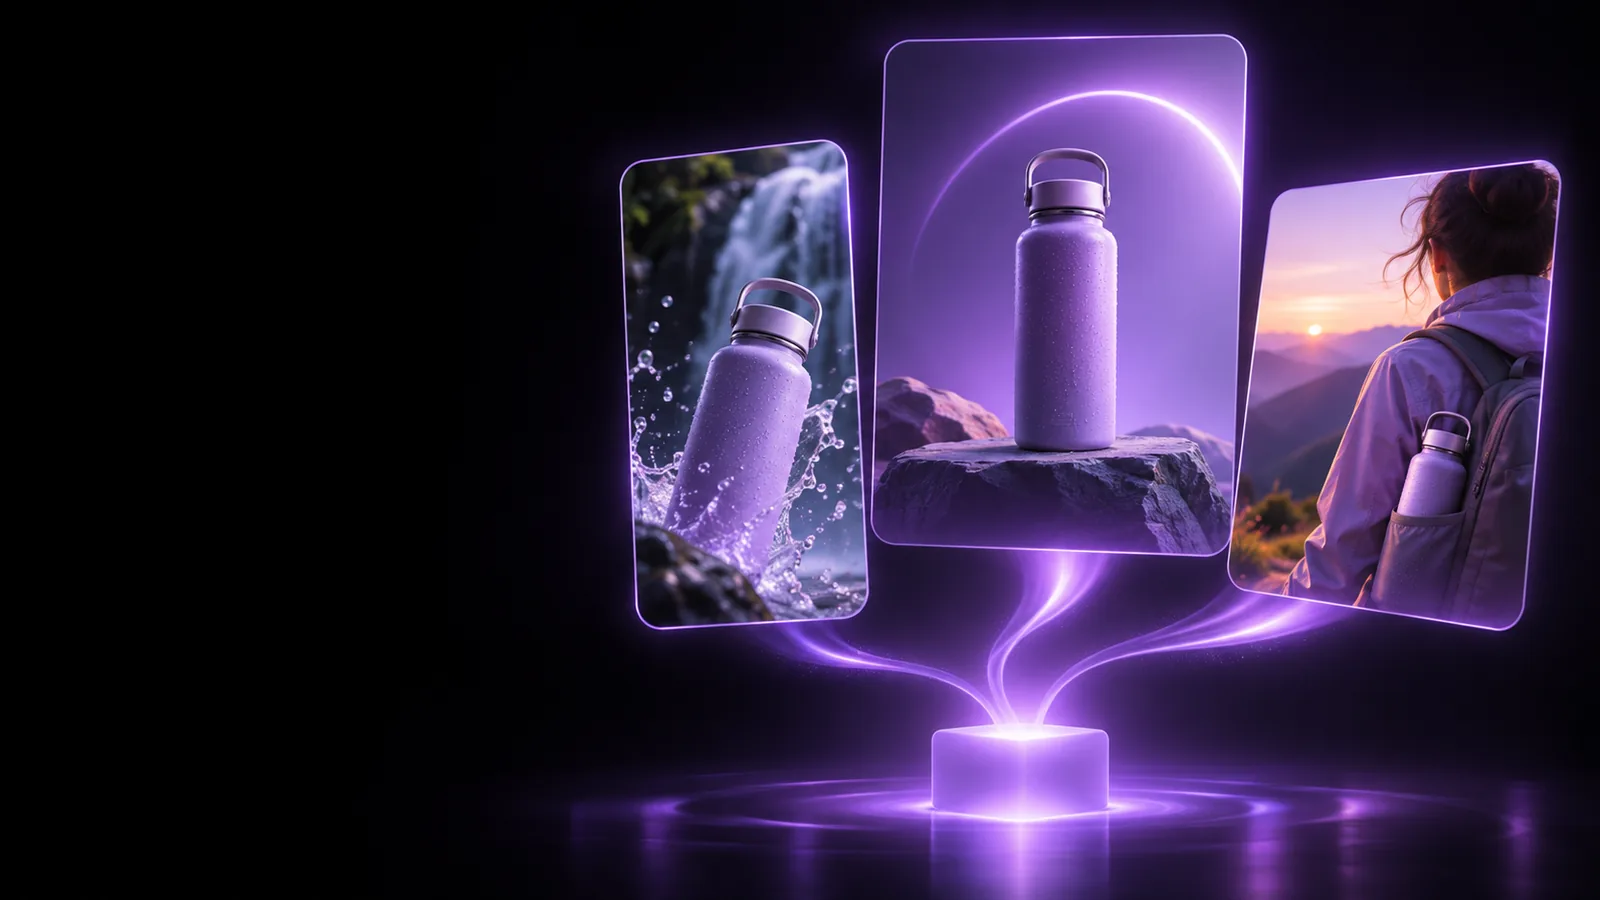
Abstract Pippit visual creation scene

Related routes for visual work

Choose the Pippit route that matches the asset you need next, whether that means motion, a speaking portrait, or a clearer first workflow.

Limits to plan around

Pippit can help you explore a direction, but an image generator is not a replacement for every part of production, review, or brand control.

Exact lettering is not dependable

A generated image may suggest a label or logo, but tiny copy, spelling, and brand marks need careful checking before publication.

Workaround

Keep final wording in a design layer or add it after selecting the strongest image.

One prompt may not lock a series

Small changes in framing, lighting, or object placement can make several Pippit outputs feel uneven when viewed as a set.

Workaround

Reuse a structured brief with fixed subject, palette, camera direction, and composition notes.

References still need interpretation

A reference image communicates direction, not ownership, measurements, or every production constraint behind the scene.

Workaround

Describe the non-negotiables in words and use references that your team has permission to use.

A concept is not a finished campaign file

The result may still need cropping, retouching, accessibility text, and channel-specific layout work.

Workaround

Treat the strongest Pippit result as a starting asset and finish it in your normal review process.

A simple three-stage workflow

The most useful results usually come from a clear brief, a deliberate comparison, and one focused refinement pass rather than a vague request.

  1. 1

    Write the brief

    Name the subject, setting, mood, lighting, viewpoint, intended audience, and any details that must remain visible. Specific language gives the image generator a stronger direction.

  2. 2

    Generate and compare

    Review the first Pippit results for composition and usefulness, not just novelty. Look for the image that leaves enough room for the crop, copy, or channel where it will appear.

  3. 3

    Refine the winner

    Keep the core idea and adjust one variable at a time, such as framing, background, color balance, or product emphasis. Save the brief that produced the preferred direction.

From loose brief to visual direction

A useful comparison is less about declaring one image perfect and more about showing how a focused brief can make the next decision easier.

Open-ended visual reference for a creative concept Open direction
Focused generated image direction for a campaign concept Focused direction
The divider represents a change in briefing focus, not a promise that every prompt follows the same visual path.

Who benefits from prompt-led images

Pippit image work is most useful when the goal is to explore, explain, or prepare a visual direction before investing in a fully finished production file.

Small-shop owner

Needs a first product scene for a launch idea but has no studio setup or final art direction yet.

Gets a concrete visual reference to discuss, revise, and adapt for a product page or social concept.

pippit ai talking photo

Content marketer

Has a campaign theme and copy direction but needs a visual starting point for a wider content plan.

Can test a still concept before deciding whether the campaign should move into a Pippit video workflow.

pippit ai video generator

First-time creator

Knows the subject and mood but is unsure how to turn an idea into a useful image brief.

Can build confidence by following a clearer sequence for describing, reviewing, and refining visual output.

pippit tutorial for beginners

Prompt-led image work versus manual design

These are different starting points rather than strict replacements. Use the Pippit route for exploration, then choose the production method that gives the project the control it needs.

Pippit image route
Manual design route

Starting input

Pippit image route

A written visual brief describing the intended scene

Manual design route

A blank canvas, approved assets, or collected references

Best first use

Pippit image route

Exploring several creative directions

Manual design route

Building a controlled final composition

Style control

Pippit image route

Describe subject, mood, setting, light, and framing

Manual design route

Set each visual decision directly by hand

Text and logos

Pippit image route

Review generated lettering carefully

Manual design route

Place approved copy and marks precisely

Series consistency

Pippit image route

Repeat the brief structure and inspect every result

Manual design route

Reuse locked templates, assets, and layout rules

Finishing step

Pippit image route

Select, refine, and adapt the strongest direction

Manual design route

Polish layers, typography, details, and export settings

Turn one brief into a starting point

Bring one concrete visual idea to Pippit rather than waiting for a perfect prompt. A clear subject, setting, and intended use give the image generator enough direction to make the next creative decision more tangible.

Create a visual draft
  • Start with the subject and intended use
  • Review composition before fine detail
  • Refine the strongest direction

Image generator questions

It is designed to turn a written visual brief into an image concept that you can review and develop. The result is best treated as a starting direction, especially when the final asset needs precise brand details or production-ready layout.

Describe the subject, environment, mood, lighting, viewpoint, and intended use. Mention important constraints such as a clear background, room for headline copy, or a specific product feature instead of relying on a broad one-line idea.

Yes, those are useful cases for exploring a scene before committing to a finished production file. Review the framing and crop carefully so the visual still works in the channel where you plan to use it.

Treat generated text and small brand marks as elements to verify rather than final copy. For dependable wording, logos, and packaging information, add or correct those details in a controlled design step after choosing the image direction.

Keep the core brief and change one variable at a time, such as the camera angle, lighting, background, or product emphasis. This makes it easier to understand which instruction improved the result and gives you a reusable prompt structure.

Start creating
Start creating