
Practical starter guide

Pippit Tutorial for Beginners

This pippit tutorial for beginners explains a simple path from a rough idea to a polished first project. Use the sequence to prepare your assets, create a draft, review it, and refine the result without guessing what to do next.

Review every generated result
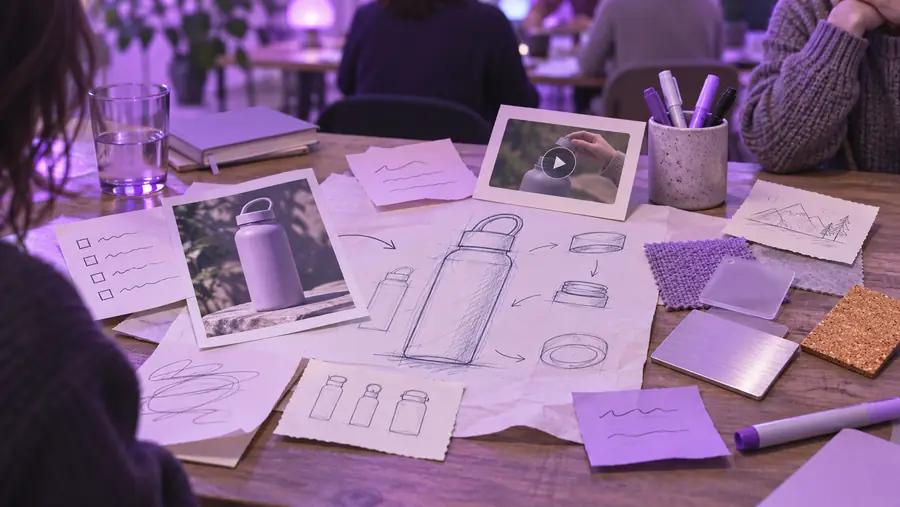
Creative project workspace with visual examples

Prerequisites

A little preparation makes the first session easier. Gather the material you already have, decide what the finished piece should communicate, and keep the first brief small enough to review quickly.

  1. 1

    Choose one clear outcome

    Decide whether the first project should explain, promote, announce, or demonstrate something. A single purpose gives the draft a useful direction and makes later edits easier to judge.

  2. 2

    Prepare your source material

    Collect the product image, portrait, logo, text, or reference visual you want to use. Use files you have permission to publish and keep the most important asset easy to find.

  3. 3

    Write a compact brief

    Note the audience, key message, preferred tone, visual style, and approximate length. Include only the details that affect the result; a focused brief is easier for beginners to improve.

  4. 4

    Set a review checklist

    Before starting, choose three checks: accuracy, readability, and brand fit. This keeps the first review practical instead of encouraging endless changes.

Numbered steps

The related guides below can help when your beginner project needs a different starting point, such as an image, video, or talking portrait.

Common errors and fixes

Beginners usually lose time through unclear inputs, overloaded briefs, or edits made without a specific goal. Use this table as a quick troubleshooting reference while working through a first project.

Common beginner error
Practical fix

The brief is too broad

Common beginner error

“Make something exciting for my brand” leaves the purpose, audience, and format unclear.

Practical fix

Name one audience, one message, one visual direction, and one intended action.

Too many ideas in one draft

Common beginner error

Several products, tones, and storylines compete for attention.

Practical fix

Choose one subject and create separate drafts for genuinely different concepts.

Source image is difficult to use

Common beginner error

The subject is tiny, blurry, poorly lit, or surrounded by distracting details.

Practical fix

Select a clearer source or crop it so the main subject is immediately visible.

Text is hard to read

Common beginner error

Captions are too long, too small, too close to the edge, or shown too briefly.

Practical fix

Shorten each message, increase contrast, and check it on a smaller screen.

The result feels generic

Common beginner error

The request uses broad adjectives without concrete visual details.

Practical fix

Add specific information about setting, colour, composition, pace, and audience.

The first revision changes too much

Common beginner error

Every part is edited at once, so it is unclear which change helped.

Practical fix

Change one variable at a time, then compare the new version with the previous draft.

Brand details are inconsistent

Common beginner error

Logo treatment, spelling, colours, or terminology vary between scenes.

Practical fix

Keep a short brand checklist beside the project and inspect every visible detail.

The output is not checked

Common beginner error

A draft is shared immediately because it looks acceptable at first glance.

Practical fix

Review timing, wording, image quality, sound, and the intended call to action before publishing.

From rough brief to reviewable draft

A useful first pass is not expected to be perfect. The goal is to turn an unclear idea into something concrete that can be inspected and improved.

Unstructured beginner project brief Rough starting point
Organized creative project example Reviewable first draft
Compare purpose, clarity, and readability before polishing.

Advanced tips

Once the basic workflow feels comfortable, small process improvements can make each project easier to repeat. Keep the creative decision separate from the quality check so you know what to change next.

Small business owner

You need a repeatable product post but do not want every project to start from a blank page.

Save a short brief template with audience, offer, tone, colours, and required wording. Update only the campaign-specific details each time. For visual assets, review the [pippit ai image generator] route when a fresh product image is the main need.

pippit ai image generator

Social media beginner

You have one idea but need versions for several placements or audiences.

Create one central message first, then adapt the opening, caption length, and framing instead of rewriting the whole concept. The [pippit ai video generator] guide is useful when the draft depends on timing and scene order.

pippit ai video generator

Teacher or course creator

You want to explain a process with simple visuals and readable supporting text.

Break the explanation into a beginning, three or four teaching points, and a short recap. Keep each scene focused on one idea, then check whether a viewer can follow without extra context. A [pippit ai story video generator] workflow may suit a lesson with a clear narrative arc.

pippit ai story video generator

Solo marketer

You need a presenter-style concept but only have a portrait or a basic talking point.

Start with the script, then decide what the portrait needs to communicate. Keep the delivery concise and verify pronunciation, pacing, and visual consistency before using it publicly. The [pippit ai talking photo] page covers this input style in more detail.

pippit ai talking photo

Freelance designer

You are testing several creative directions before presenting a recommendation to a client.

Label each version by its concept rather than by vague quality rankings. Compare audience fit, message clarity, and production effort, then show the strongest two or three options instead of every experiment. This makes the pippit review more objective.

pippit ai alternative

Turn your first idea into a clear draft

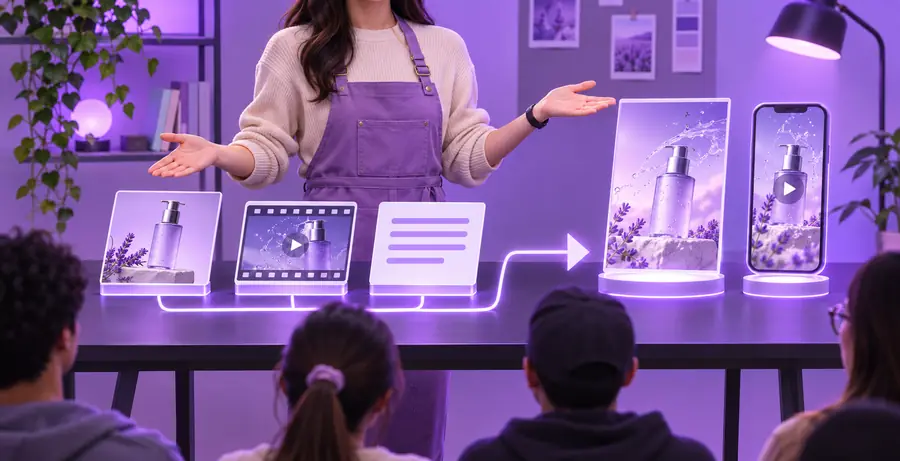
Use the workflow from this pippit tutorial for beginners as a checklist: define the purpose, prepare the source material, create a focused first version, and review it against the message. Start with one manageable project, then build a repeatable process from what you learn.

Create a first draft
  • Begin with one audience and one message
  • Review every visible detail before sharing
  • Make one focused change at a time

Tutorial FAQ

These answers address the practical questions beginners usually have before trying a first project.

Start with one small project and a clear outcome, such as introducing a product or explaining one idea. Prepare the source material, write a short brief, create a first draft, and review it before making refinements.

Include the audience, purpose, key message, desired tone, visual direction, and approximate length. If a logo, product image, caption, or required phrase must appear, list it explicitly so it can be checked in the result.

A broad request often produces a broad result. Add concrete details such as the setting, subject position, colours, pacing, audience, and the action you want viewers to take, then change only one or two details in the next version.

Make one focused change at a time when you are learning the workflow. Changing the wording, visual style, length, and source material together makes it difficult to tell which adjustment improved or weakened the result.

Check that the main message is accurate, text is readable, branding is consistent, images are appropriate, and the timing feels natural. Also confirm that you have permission to use the source material and that the final result suits its intended audience.

Start creating
Start creating